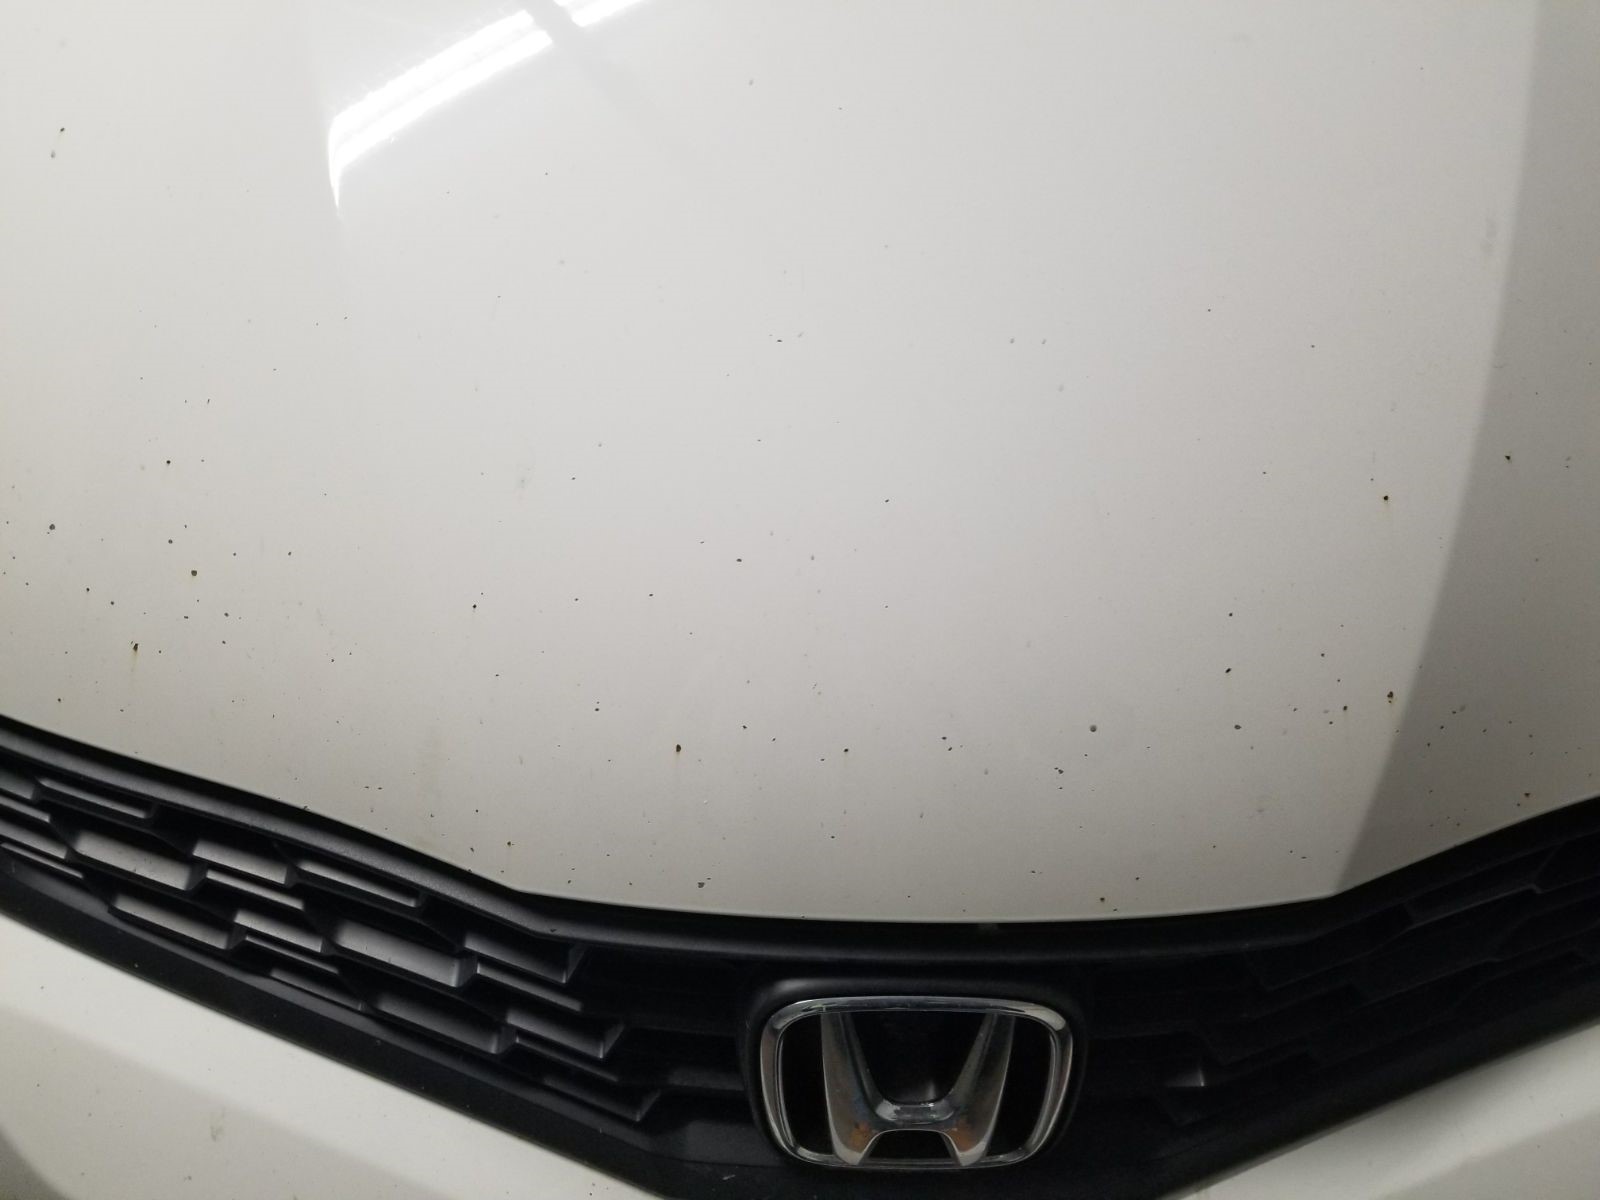
How to Use the Chipmedics Paint Chip Repair Kit
The process is incredibly straightforward—so much so that you might consider having your kids take care of it while you relax with a refreshing drink and enjoy the view. However, before handing over the brush to Junior, let’s ensure you grasp the procedure. Begin with addressing a few chips to complete the process, allowing you to make any necessary adjustments before tackling the entire vehicle.
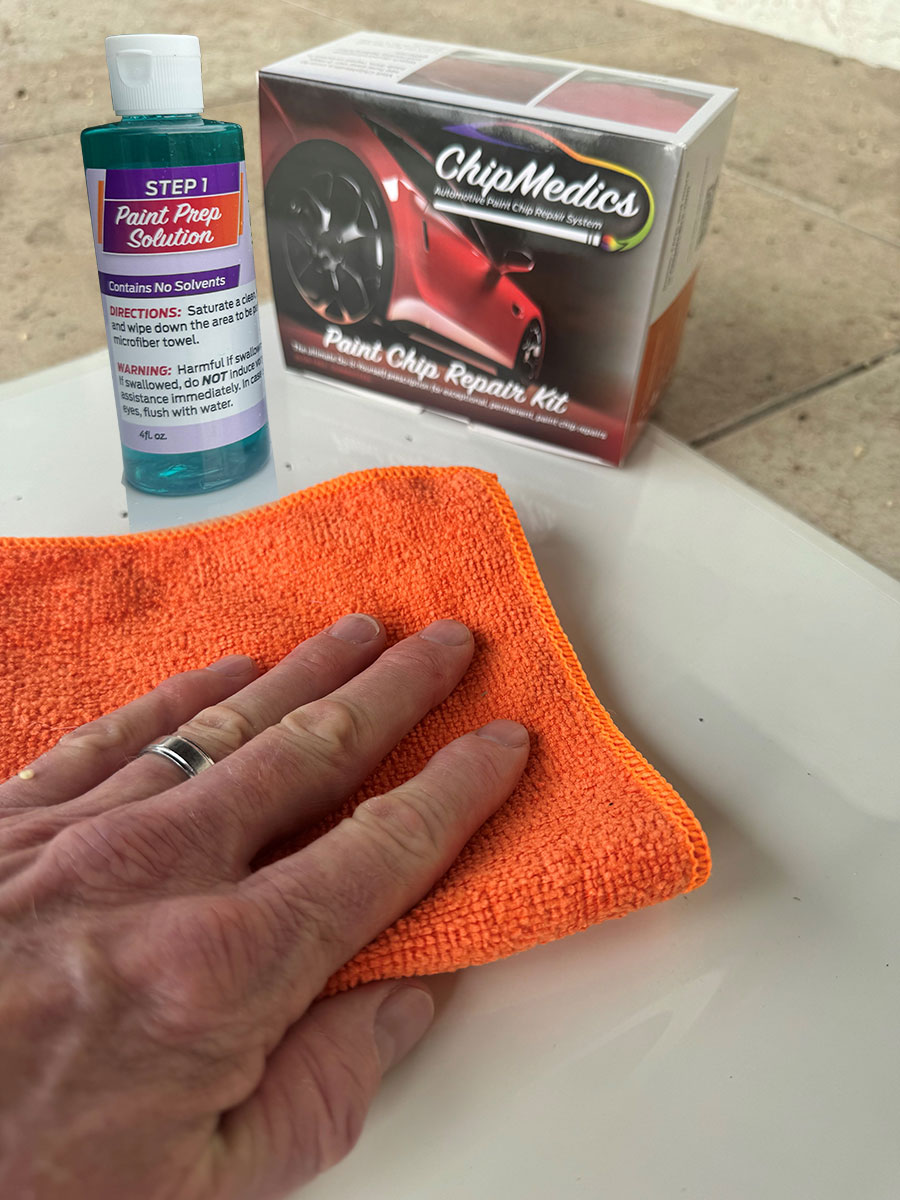
Step 1: Paint Prep Solution
Make sure the vehicle is clean and dry. Then saturate a clean, soft cloth with the Paint Prep Solution and wipe down the area to be painted. Buff dry with a microfiber towel. This will remove any wax or silicone that may still adhere. It’s good to rid the area of such contaminants, as they may prevent proper paint adhesion. Make sure the panels to be painted aren’t excessively hot.
Ambient temperatures should be 40-95 degrees F.
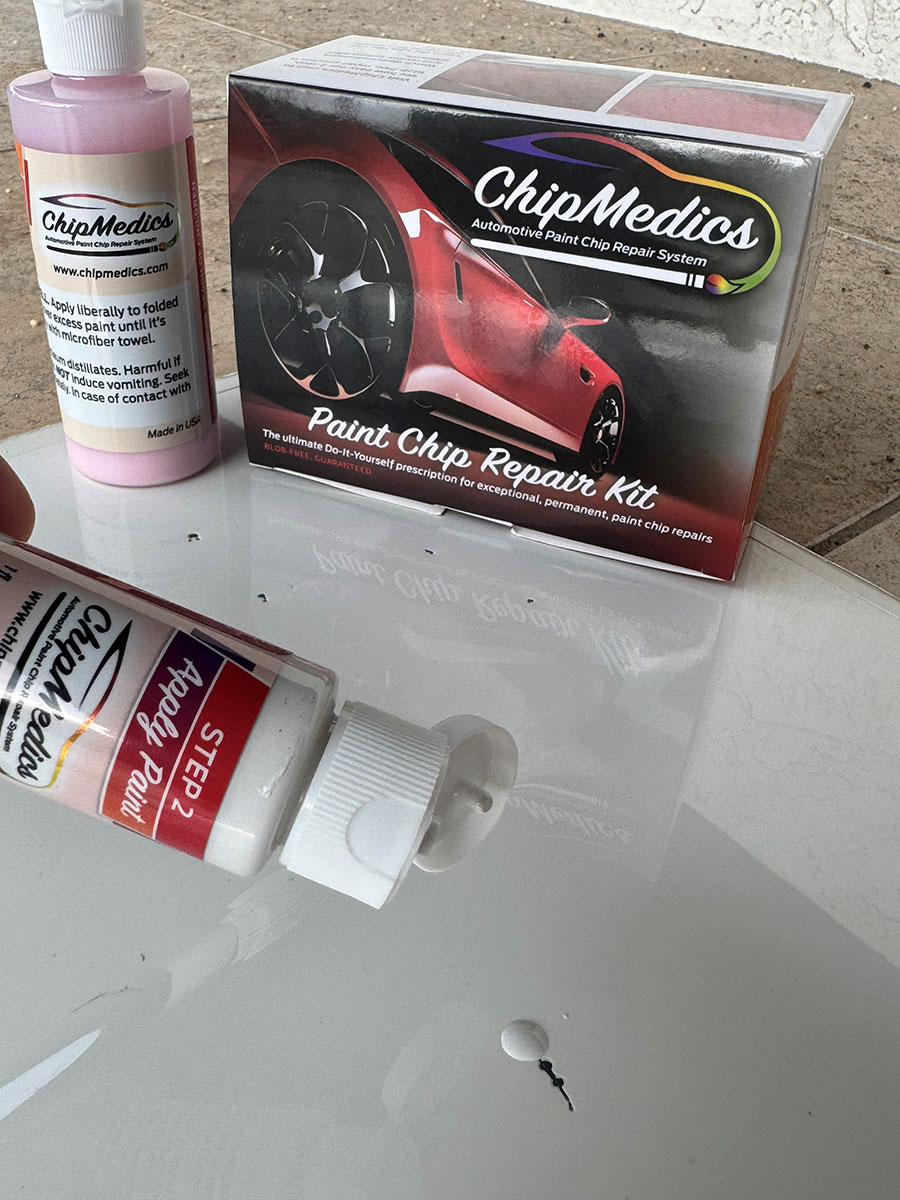
Step 2: Apply Paint
Ensure the paint bottle is well-shaken until the color is thoroughly mixed.
It’s important to note that some colors may appear different in the bottle or upon initial dispensing compared to their appearance when smoothly applied into the chip. Proceed with the process even if the color seems slightly off; adjustments can be made, and you can always remove it entirely if necessary.
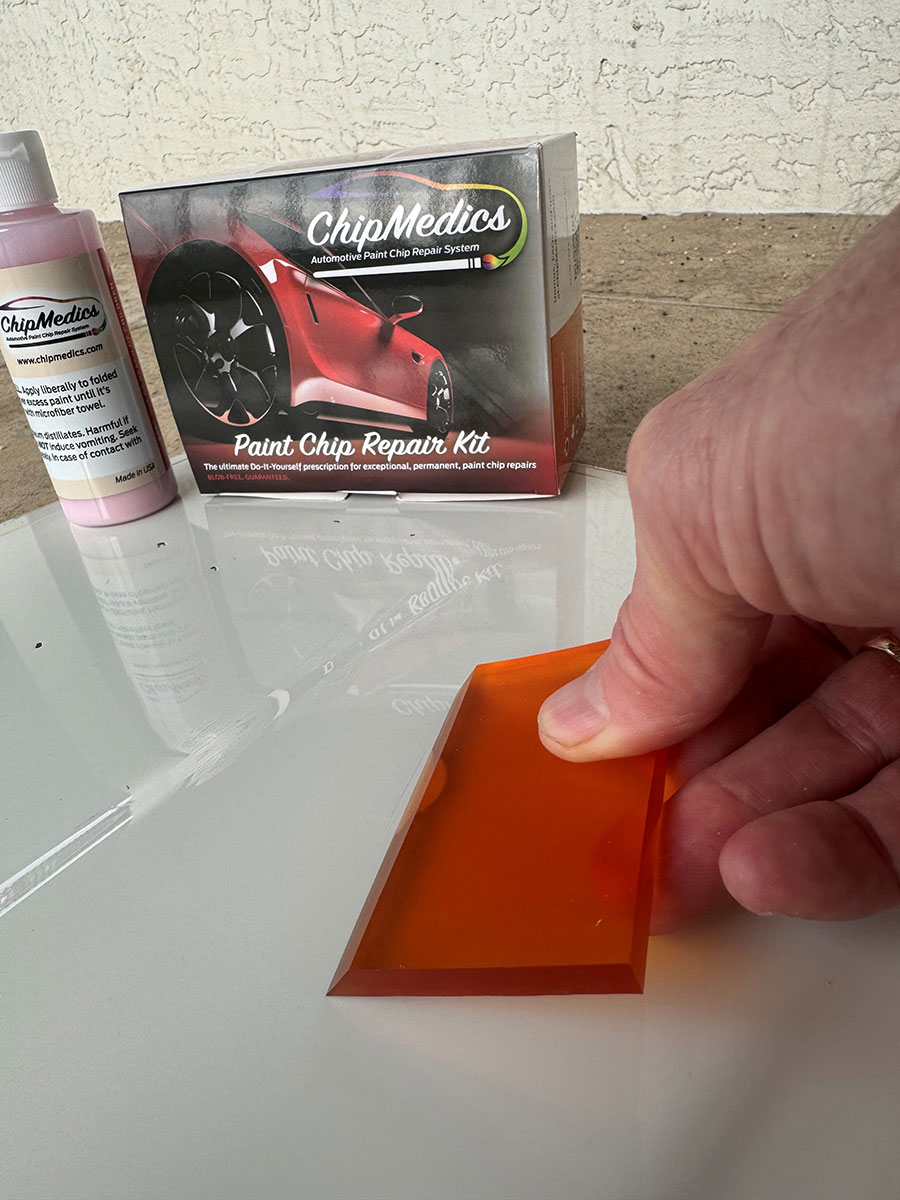
Apply a small amount of paint either to the panel next to the chips or directly to the underside of the beveled edge of the squeegee.
Pull the paint squeegee at approximately a 45-degree angle, spreading the paint over the chip(s). The paint should lay smooth and flat, with minimal excess accumulating outside the chip. As the paint adheres to the squeegee, you can effectively “pick up the paint” and apply more to other chips. Reapply as needed.
Allow the paint to dry for at least a few minutes before proceeding to the next step. Ensure that the paint is dry to the touch. In the case of larger or deeper chips, provide additional time, as the paint at the bottom of the chip may still be wet.
Step 3: Remove Excess Paint
Now, it’s time to eliminate the excess paint around the chips.
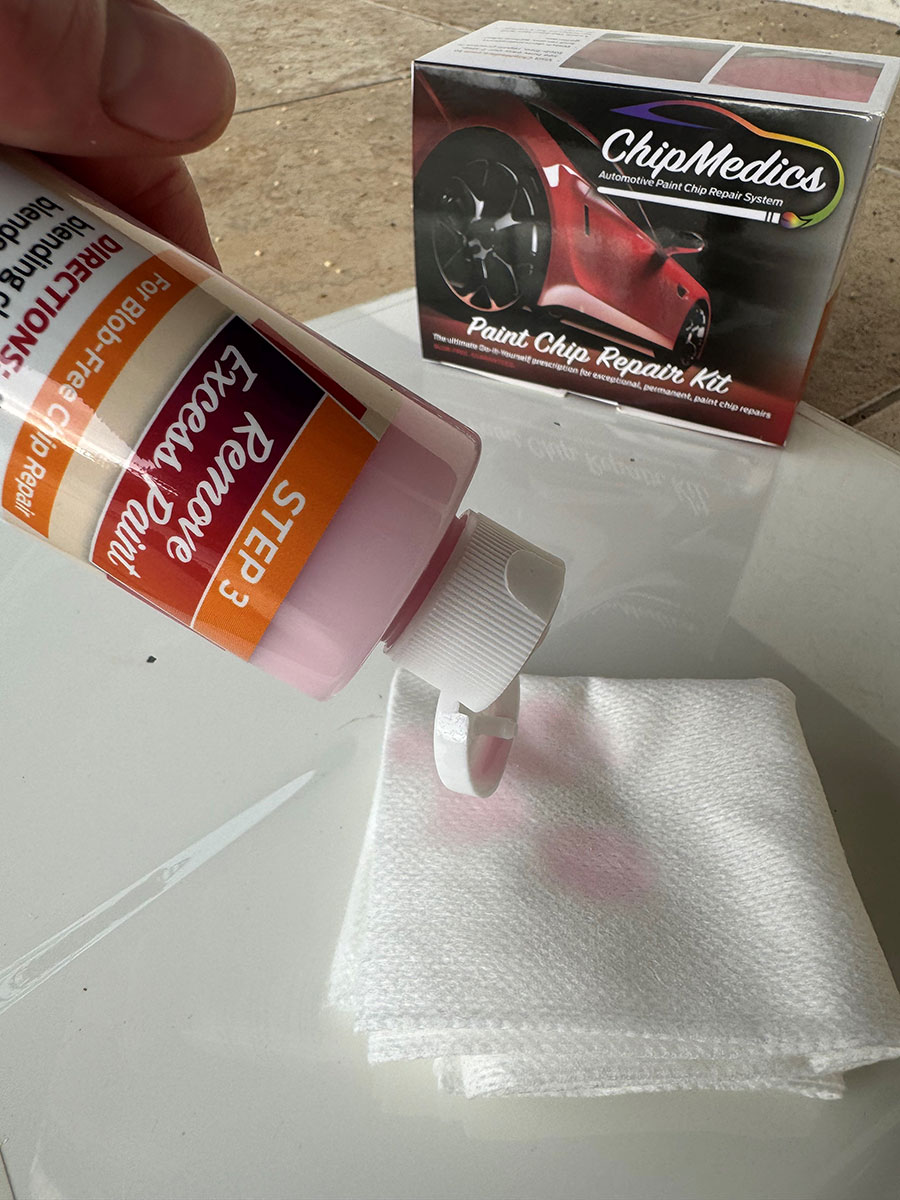
Shake the Step 3 bottle to blend the solution and apply it to the folded blending cloth or a soft T-shirt rag. Ensure moderate saturation over an area of approximately 2″ x 2″. Avoid soaking the rag excessively in the solution.
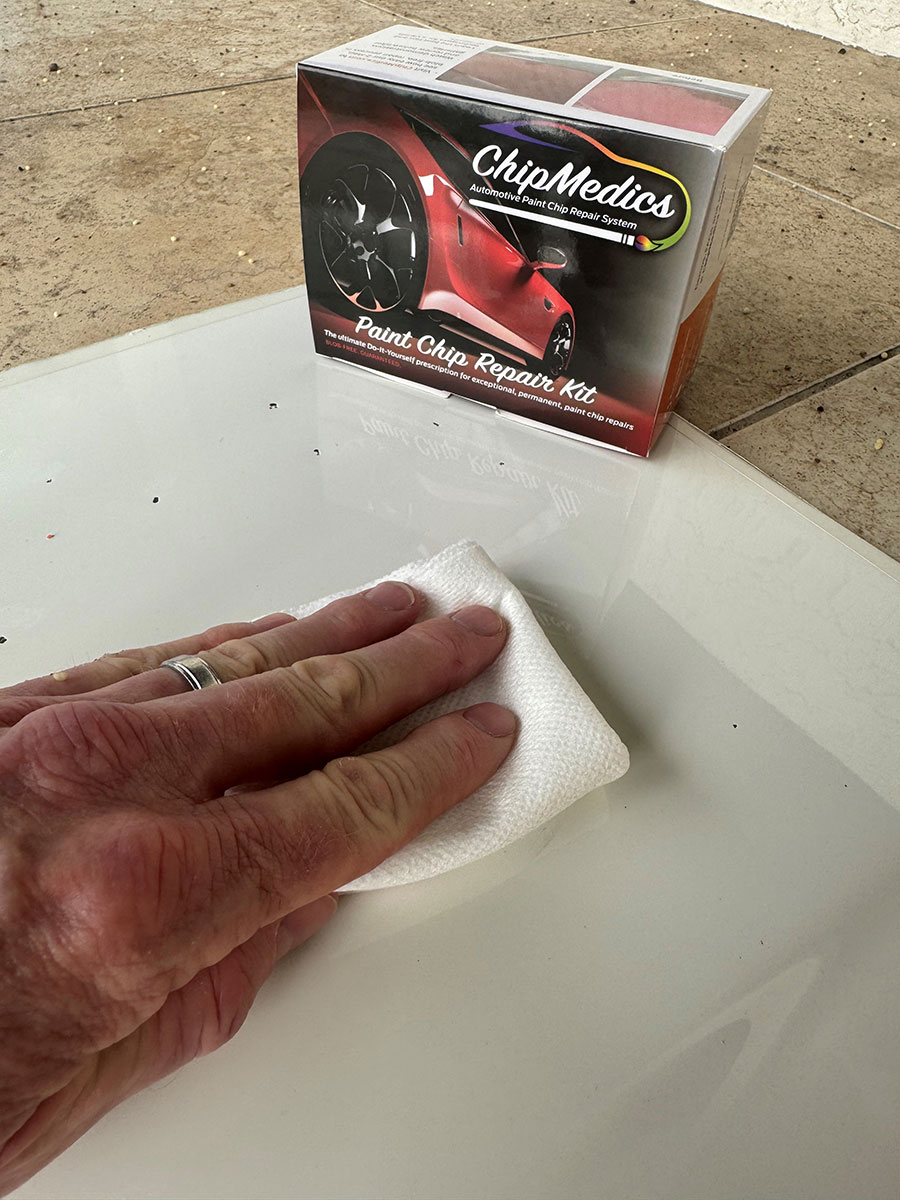
Hold the cloth flat against the panel using several fingers (not just one, to prevent digging out the paint) and gently rub over the chip. Avoid exerting too much pressure; let the solution take care of the majority of the work. After a few attempts, you’ll gauge how much pressure is suitable for expediting the process without removing the paint from the chips.
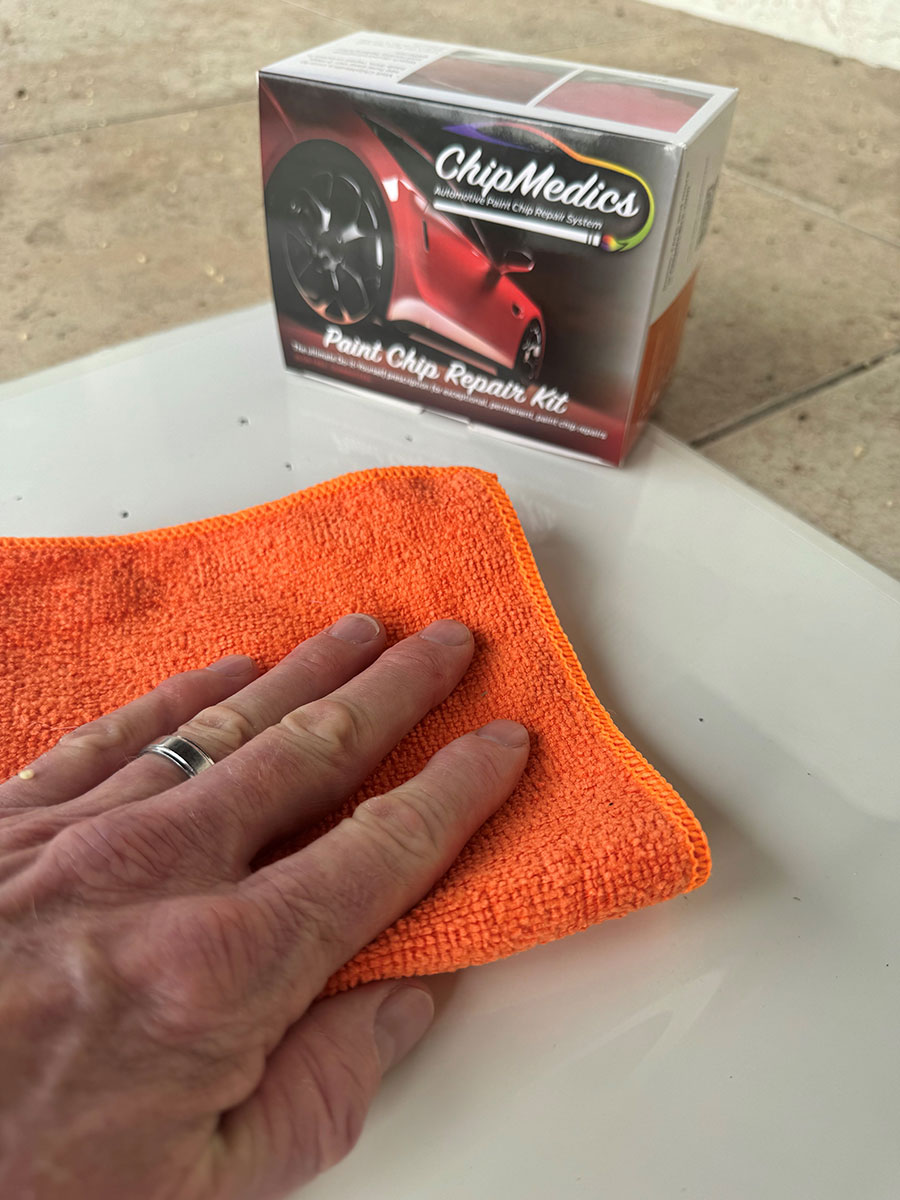
You’ll observe the excess paint starting to dissolve away, while the paint remains intact within the chips. Once all excess paint is removed, promptly hand-buff the area with a microfiber towel to eliminate any lingering blending solution. If the solution dries to a haze that proves challenging to remove, reapply more solution and buff to achieve a polished finish. The area should shine up beautifully.
NOTE: You may need to reapply the paint to some chips to achieve better coverage.
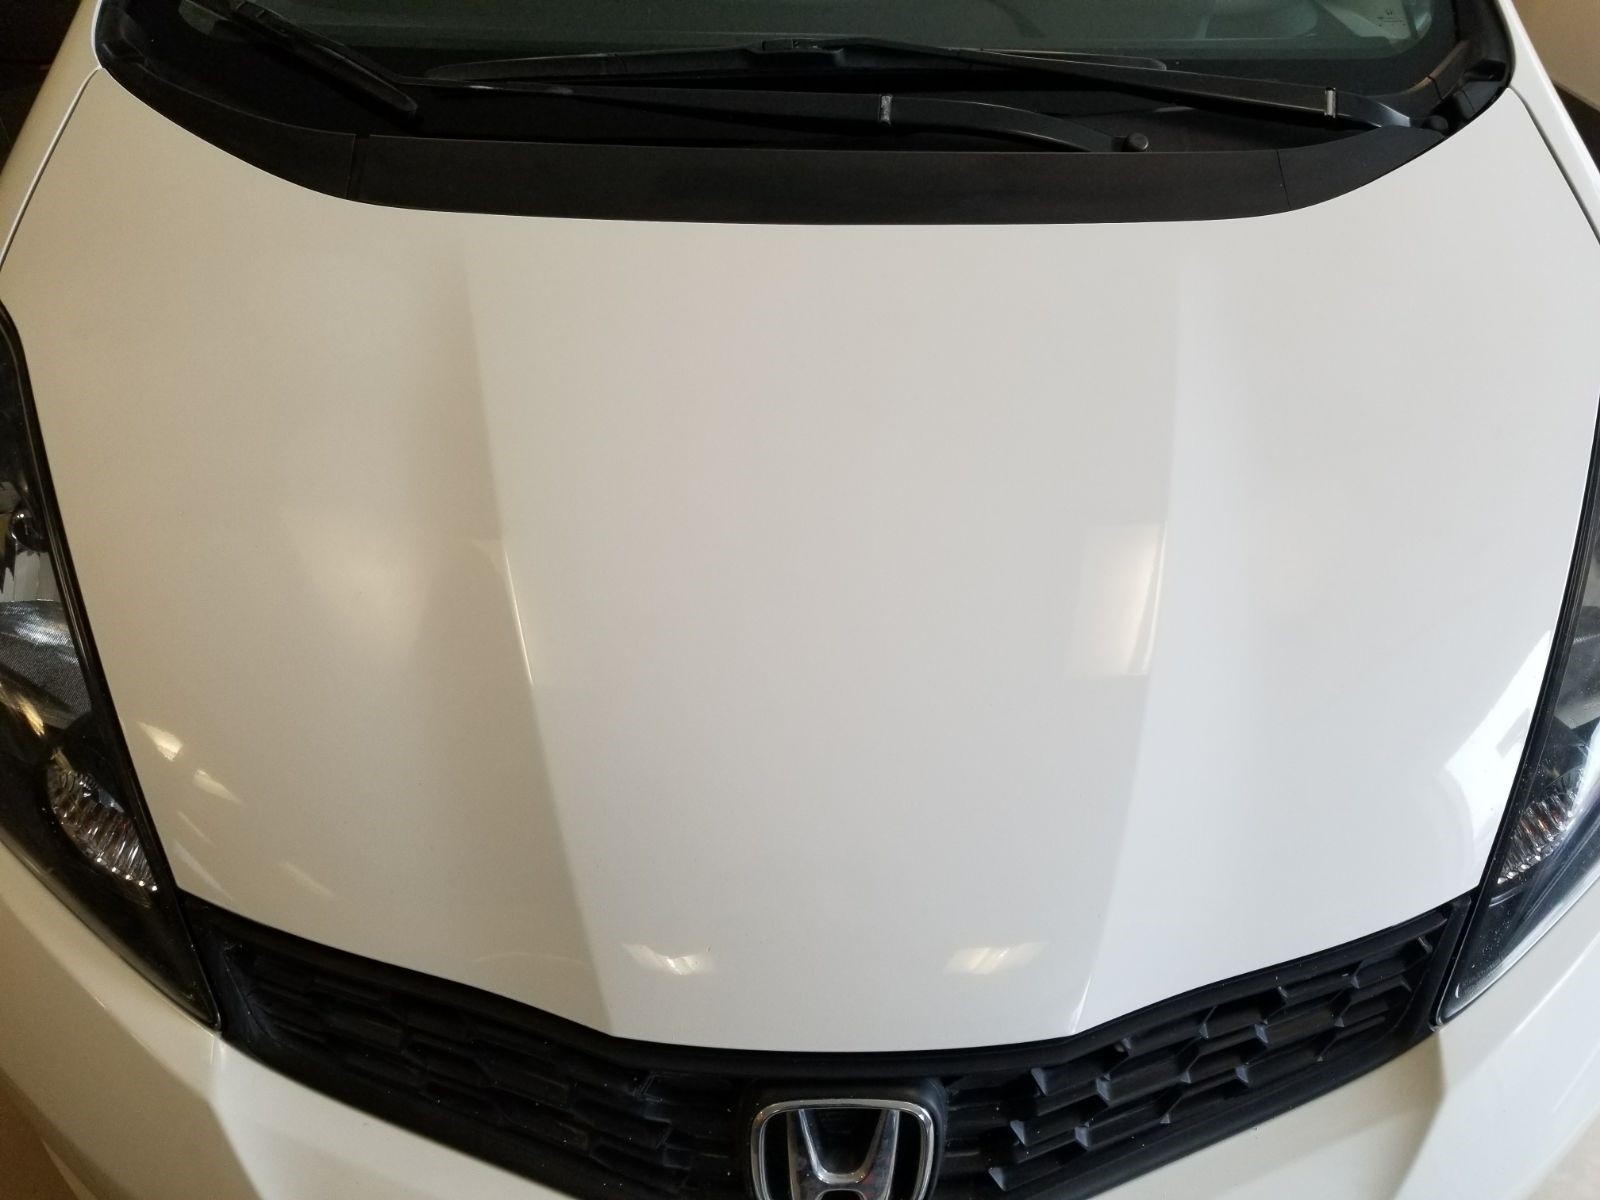
The Final Results
Achieving a factory finish is unlikely unless you invest in a new panel. However, from a typical viewing distance, the overall appearance of the vehicle should show significant improvement. Step back and assess the area from a few feet away. If you scrutinize the repair from just 12 inches, the perfectionist in you may become overly critical. Remember, it’s a repair, not a replacement. With this mindset, we are highly confident that you’ll be genuinely satisfied.
